San Francisco Baking Institute
Through the Kushi Institute where I studied Macrobiotics, I got to know about a wonderful artisan bakery in Housatonic, Massachusetts called Berkshire Mountain Bakery. David and I then had the pleasure of visiting this bakery in November 2010, when David came to visit me while I was completing my studies at the Kushi Institute in Becket, Massachusetts. This was our first introduction to exceptionally tasting, natural sourdough bread baked in a traditional way. Naturally fermented sourdough bread is the bread of choice when following a Macrobiotic diet, because it is considered easier to digest.
The founder and owner of Berkshire Mountain Bakery, Richard Bourdon got his start in Europe where he studied and practised the art of natural sourdough bread baking. He has carried on this art and uses the same approach to his bread-baking today. Berkshire Mountain Bakery is ranked amongst the top 10 bakeries in the U.S. and it goes without saying that this bakery produces exceptional bread and baked products.
This introduction to exceptional sourdough bread back in 2010, sparked our interest in artisan bread baking and after doing much research on bread baking classes and schools etc., we finally decided to take some classes at the well-respected San Francisco Baking Institute. As it turns out, our instructor Mac, trained under Richard Bourdon and at one point was the head baker at Berkshire Mountain Bakery, so we were in very proficient and competent hands.
The owner of the San Francisco Baking Institute, Michel Suas, is himself an accomplished baker and is considered an expert and leader in the industry. He is the author of the book "Advanced Bread and Pasty", a wonderful in-depth book on how to bake just about anything. We met Michel Suas in person and he was very generous with his advice and time.
The San Francisco Baking Institute attracts an array of students, from beginners like us, to more experienced bakers looking to enhance their knowledge, to professional bakers. The courses are limited to 16 students and this ensures that everyone gets the attention they need. For both weeks, we had a really nice group of people that consisted of home bakers and professional bakers (some did Artisan I and II back-to-back with us, while others only stayed for Artisan I and then we had some new students join us for Artisan II).
Each bread baking course at the San Francisco Baking Institute is a week long and the classes run from Monday-Friday, starting at 7am and ending at around 2:30pm. We found the courses and classes themselves to be well planned and designed. Approximately one third of each course focuses on theory and the rest is all practical application. That said, we got a lot of practical hands-on experience, which definitely enhanced our learning experience.
We had a really enjoyable time learning how to bake artisan bread and although there was a lot of information to absorb and it was challenging at times, it was also a lot of fun.
Overall it was a fantastic learning experience and we hope to return and take more courses in the future.


Artisan 1: Baking Fundamentals
The Artisan I course is a one week course that focuses on the basics of baking bread. In this course we learnt how to bake yeasted breads, using a variety of flours and other ingredients like honey, malt, sugar, eggs, seeds and butter.
The course started with an introduction to the 10 stages in the baking process (yes there are 10!) that includes mixing the dough, the fermentation process (and the science behind it), dividing the dough, pre-shaping the dough, shaping the bread and then baking it. Also covered in this course was an overview of the functionality of the different ingredients, an introduction to Baker's %, the importance of dough temperature, the concept of dough strength, the relationship between mixing and fermentation, flour technology and an introduction to preferments like poolish and sponge.
There are aspects to bread baking that are very scientific and precise, so in terms of theory there was a lot of information to absorb, but the actual hands-on experience made it fun.
After baking bread each day we had a review session, where we would taste the bread we had baked and also assess the bread, noting the quality of the crust and crumb (the inside of the bread). During our first week, David and I baked over 150 loaves between the two of us.....a lot of bread!
At the end of each class we were encouraged to take all the bread we had baked that day "home" with us (an average of 30 loaves per day!). This presented a small problem for us, because there was no way we could eat all that bread, but we also did not want to throw it away or have it go to waste. Fortunately our problem was solved when one of our fellow students who owns a farm, offered to take the bread home for her farm animals to eat. Needless to say, we were more than happy to give her the bread we had baked each day, knowing it was going to be put to good use.
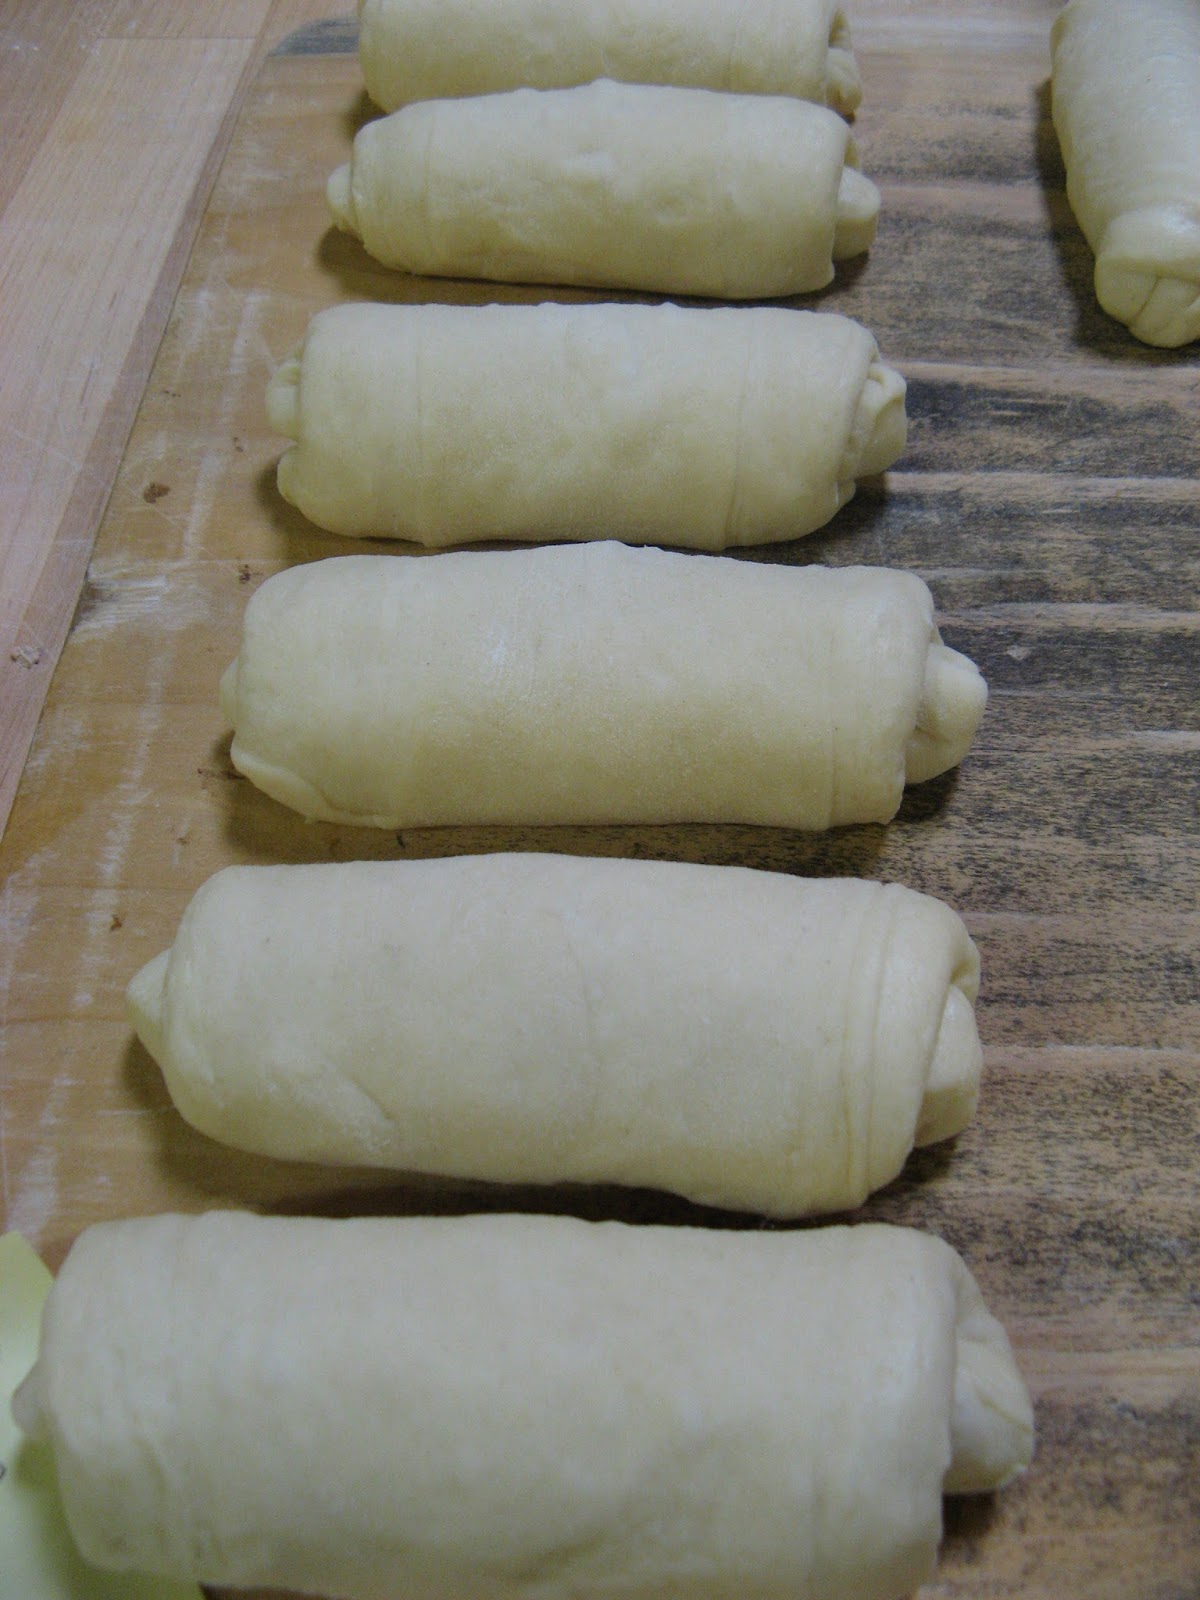
Baguettes
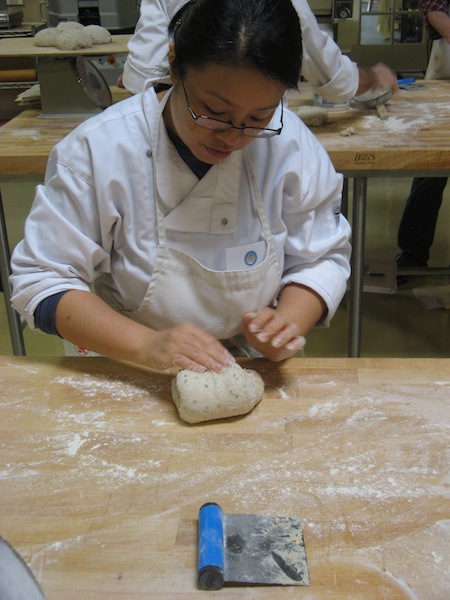
The courses started with baguettes and for the first three days we focused entirely on making baguettes. Making baguettes is a good place to start, because as it was explained to us, making them encompasses all the basics of bread baking, while also providing the challenge of learning how to master the shaping of the dough. We found shaping pretty challenging at first and we found shaping baguettes far more challenging than shaping boules and batards, but with more practice it did become easier.
For the first few batches of baguettes we used different doughs (identical ingredients, but with different quantities, different mixing times, different fermentation times and different proofing times) and compared the end products. If was very interesting to see how the various factors affected the end product, and now at least we know what to look for in a bread and also which types of doughs to use, to achieve specific end-results in terms of taste, crumb and appearance.
For the first few batches of baguettes we used different doughs (identical ingredients, but with different quantities, different mixing times, different fermentation times and different proofing times) and compared the end products. If was very interesting to see how the various factors affected the end product, and now at least we know what to look for in a bread and also which types of doughs to use, to achieve specific end-results in terms of taste, crumb and appearance.


The Epi Cut


Egg Bread, Pan Bread, Wholewheat Bread, Rye Bread and Multigrain Bread
After making many baguettes, we turned our attention to adding other ingredients to the basic dough ingredients, to make a variety of other breads.
After making many baguettes, we turned our attention to adding other ingredients to the basic dough ingredients, to make a variety of other breads.


Multigrain Bread


Pan Bread


Rye Bread


Egg Bread


Wholewheat Bread


Foccacia


Baking bread in a home oven
All the bread that we baked during the first four days of our course, was baked in the industrial ovens that the school has. So on our last day, we were shown how to bake bread in a home oven and how to effectively create steam (this is automated with the industrial ovens) in order to get the perfect crust. We will definitely use the practical tips given when baking at home, so that we get optimal results.


Artisan II : Mastering Sourdough
The Artisan II course is designed to build on the skills learnt in Artisan I.
Whereas with Artisan I we learnt how to bake yeasted breads, with Artisan II the focus was almost entirely on making sourdough breads using a starter and preferments like levain, sponge and biga. Traditional sourdough bread is made with a natural leavening agent or starter, which takes the place of cultivated yeast. The starter in essence is a naturally fermented dough (thanks to the naturally occurring lactobacilli and yeast in the flour and air, which when combined with water, go to work on breaking down the starches in the flour). The sour taste that is characteristic of sourdough bread, is from the lactic acid that is produced by the lactobacilli during the fermentation process.
After a quick review of the basics covered in Artisan I, we were introduced to the sourdough process. We started at the beginning with how to start a sourdough culture and then went on to looking at the factors affecting culture elaboration, the types and role of microorganisms, feeding the starter and perpetuating the starter. How to maintain the culture and how different factors like hydration affects the sourdough characteristics and the dough characteristics was also covered. This course also taught us about the retarding process and covered the advantages of retarding, the disadvantages of retarding, factors affecting the retarding process and the main methods of retarding.
As part of the practical application, each group of four was required to start a sourdough culture from scratch. Our group affectionately named our culture "Carl" and we got to feed Carl daily, watch it grow and monitor its progress. We did eventually use Carl later in the week as the starter in the wholewheat sourdough bread that we baked. It was very interesting to see how the various starters and fermentation techniques affected the flavour and appearance of the different breads.
As with our Artisan I course, we had a review session each day after the all the baking was done to taste and assess the bread we had baked. Between David and I, we baked over 120 loaves of bread during the course of the week. Most of the breads that we baked at the beginning of the week, we gave to one of our fellow students who gave them away to his neighbours, but some of the breads we baked towards the end of the week, we were able to bring back with us to Singapore.
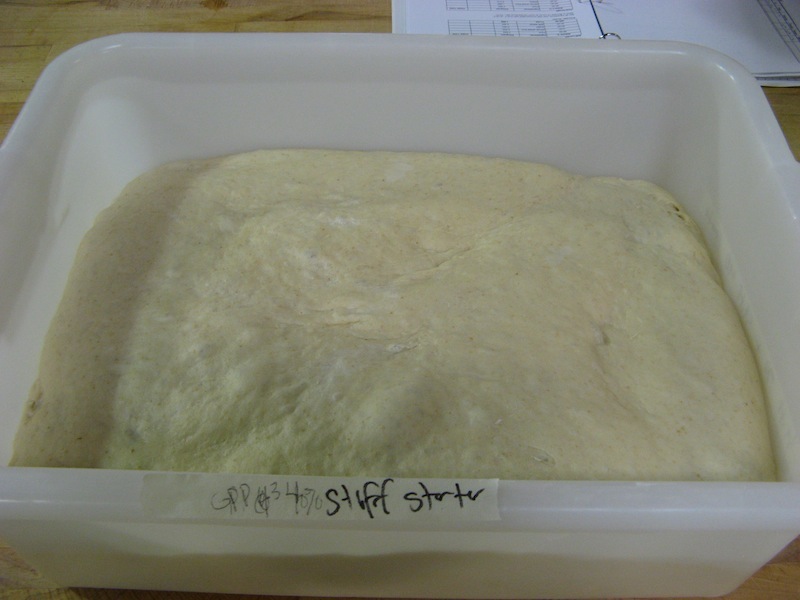
One Feed Levain, Liquid Levain, 70% Stiff Levain and 40% Stiff Levain
"Levain" is the French word for preferment and in the US, the words "sourdough" and "levain" are used interchangeably. In other parts of the world this is not the case - in Germany a sourdough culture is made from rye flour and water, whereas in France, levain is a culture made with white flour and water.
Preferments are mainly used in bread baking to strengthen the dough, to enhance the flavour of the bread, to reduce the production time and due to the higher acidity levels present, to preserve the bread longer.
We made breads with different types of levains, some liquid and some stiff, and it was interesting to note the differences in the end products.


Semolina, Wholewheat, Multigrain and Rye
By the middle of the week, we had moved on to other types of bread that included Semolina, Wholewheat, Multigrain and Rye Bread.
By the middle of the week, we had moved on to other types of bread that included Semolina, Wholewheat, Multigrain and Rye Bread.

Wholewheat Sourdough Bread


Semolina Bread (using a Liquid Levain)


Multigrain Sourdough


Sourdough Rye


Challah, Chiabatta, Walnut Raisin, Olive and Wholewheat
Towards the end of the week, we made some really great sourdough breads and two yeasted breads, where we included additional ingredients like eggs, sugar, honey, olives, walnuts and raisins to the different doughs. All the breads we made were delicious and because of the preferments used, we were able to bring some back to Singapore with us, without the bread going stale (we gave some away to friends and froze the rest to be enjoyed in the future).

Challah (using yeast and Sponge, a type of preferment)
The six-strand braid was tricky to master and a few of us had challenges, but in the end we got the hang of it and David ended up making a beautiful Challah loaf.
The six-strand braid was tricky to master and a few of us had challenges, but in the end we got the hang of it and David ended up making a beautiful Challah loaf.


Chiabatta (using yeast and Poolish, a preferment of Polish origin)


Olive Bread (using Liquid Levain)


Wholewheat Sourdough (using "Carl")


Walnut Raisin (using Stiff Levain)


French Country Shapes (using Prefermented Dough)


Baguettes (using Biga and Liquid Levain)
We started our course with baguettes and we ended our course with baguettes, except these were made with Biga and Levain instead of yeast. Biga is a preferment of Italian origin.
It took me (Sam) two weeks to get the shaping and scoring of the baguettes right, but at the end I was happy with my results! This was a great way to end the course!
It took me (Sam) two weeks to get the shaping and scoring of the baguettes right, but at the end I was happy with my results! This was a great way to end the course!

No comments:
Post a Comment